Behind the Scenes: Understanding and Maintaining Your Bathroom Sink Plumbing
Bathroom Sink Drain, Sink Plumbing Basics, DIY Sink Installation, Unclog Bathroom Sink, P-Trap Maintenance, Fixing Sink Leaks, Installing Faucets, Bathroom Plumbing Tips, Under Sink Repairs, Sink Pipe Replacement, bathroom sink plumbing
The bathroom sink is an essential component of any restroom, serving both functional and aesthetic purposes. While we often take plumbing for granted, understanding the intricacies of bathroom sink plumbing is crucial for proper maintenance. In this go-to guide, we’ll explore the basics of sink plumbing, offering insights into DIY installation, common issues, and tips for effective upkeep.
Sink Plumbing Basics Under Sink Repairs
1. Drain:
The bathroom sink drain is a vital component that allows used water to exit the sink. It is typically a pipe that connects to the bottom of the sink basin, carrying away wastewater to the larger plumbing system.
2. P-Trap Maintenance:
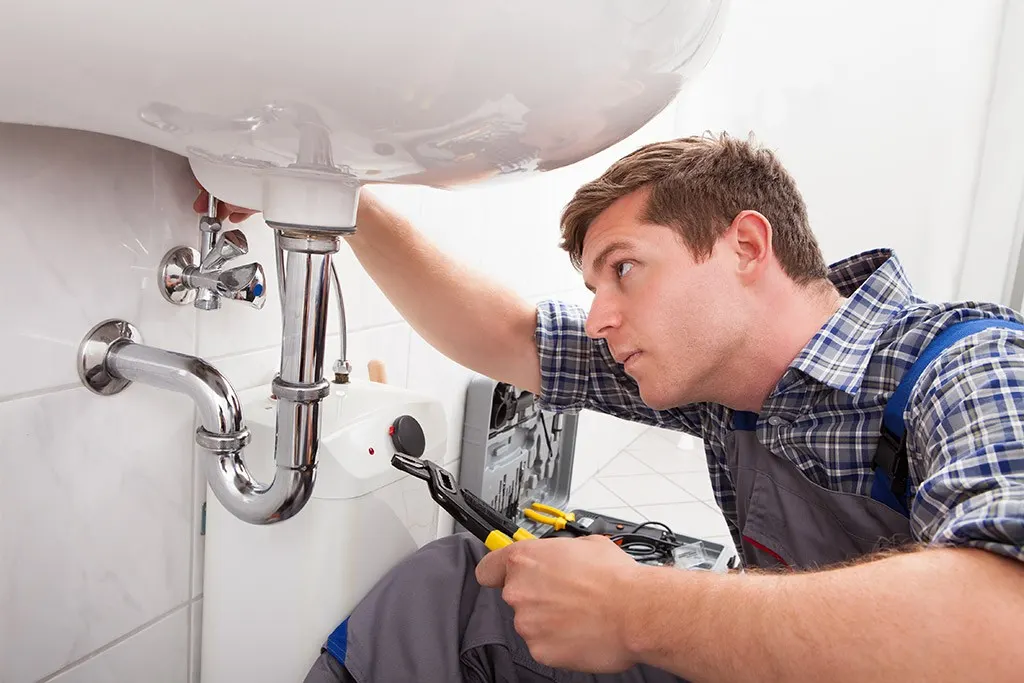
The P-trap is a curved pipe located beneath the sink, forming a “P” or “U” shape. Its primary purpose is to trap a small amount of water, creating a barrier that prevents sewer gases from entering the home. The water in the P-trap acts as a seal, blocking odors from the sewage system.
2. Various Pipes:
The plumbing system under the sink consists of various pipes that connect the drain and P-trap to the main plumbing lines in the house. These pipes work together to facilitate the flow of water and maintain the integrity of the plumbing system.
Process for DIY bathroom sink plumbing
Step 1: Gather Tools and Materials for DIY Sink Installation
- Wrench
- Plumber’s tape
- Pipe cutter
- Adjustable pliers
- Screwdriver
- Bucket (for catching water)
- Level
- Silicone caulk
- Teflon tape
- Safety gloves and goggles
Step 2: Turn Off Water Supply
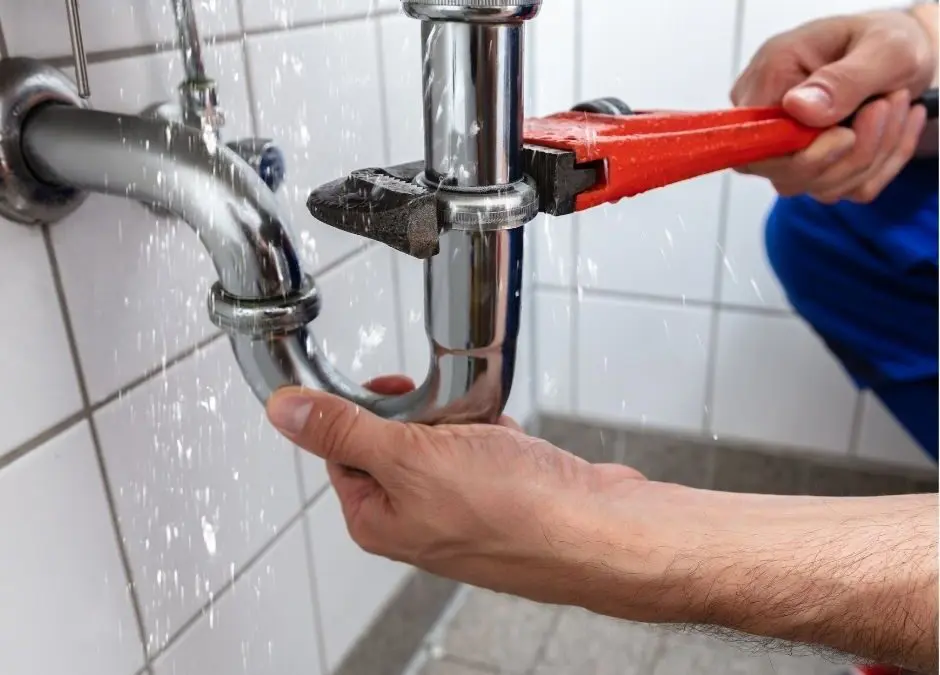
Locate the shut-off valves beneath the sink or, if unavailable, turn off the main water supply to your home. Open the faucet to relieve any remaining water pressure in the lines and start Fixing Sink Leaks.
Step 3: Remove Existing Sink (if applicable)
If you’re replacing an old sink, disconnect the existing plumbing connections. Loosen nuts and bolts securing the sink to the countertop. Once detached, carefully lift the old sink out, exposing the plumbing beneath.
Step 4: Installing Faucets
Follow the manufacturer’s instructions to install the faucet. Use the plumber’s tape on threaded connections to create a tight seal. Position the faucet in the pre-drilled holes of the sink or countertop and secure it from below using nuts or bolts.
Step 5: Install Drain Assembly
Assemble the drain components according to the manufacturer’s guidelines. Apply the plumber’s tape to the threads to prevent leaks. Insert the drain assembly into the sink’s drain hole and tighten the nut underneath to secure it.
Step 6: Connect Water Supply Lines
Connect the hot and cold water supply lines to the corresponding valves. Use a wrench to tighten the connections securely. Ensure there are no kinks in the lines, and position them neatly to avoid interference with other components.
Step 7: Attach P-Trap
Install the P-trap beneath the sink by connecting it to the drain pipe and the tailpiece from the sink’s drain. Adjust the P-trap to the desired height and tighten the compression nuts. Make sure there are no leaks by running water through the sink.
Step 8: Check for Leaks
Turn on the water supply and check for any leaks at the connections. If you spot any leaks, tighten the affected connections until they are snug. Wipe away excess water and inspect again.
Step 9: Caulk Around the Sink
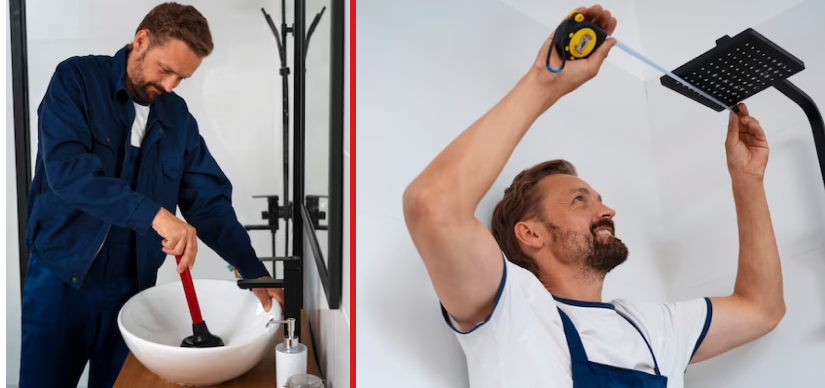
Apply a bead of silicone caulk around the edge of the sink where it meets the countertop. Smooth the caulk with a damp cloth or your finger for a clean, finished look to avoid unclog bathroom sink.
Step 10: Level and Secure
Use a level to ensure the sink is properly aligned. Make adjustments as needed to achieve a level and balanced installation. Secure the sink to the countertop using clips or mounting brackets provided by the manufacturer.
Sink Pipe Replacement: A Comprehensive Guide
Step 1: Disconnect the Existing Pipes
Using a pipe wrench and adjustable pliers, carefully loosen and disconnect the nuts and fittings holding the old pipes in place. Start by disconnecting the P-trap, which is the curved pipe beneath the sink. Be prepared for some water to drain into the bucket.
Step 2: Remove Old Pipes
Once the connections are loosened, remove the old pipes from the sink. If the pipes are severely corroded or stuck, you may need to use penetrating oil to facilitate their removal.
Step 3: Measure and Cut New Pipes
Measure the length of the old pipes you’ve removed to ensure the new pipes are the correct size. Use a pipe cutter to cut the new pipes to get the appropriate lengths. Make straight, clean cuts for optimal fittings.
Step 4: Apply Plumber’s Tape
To create a tight seal and prevent leaks you should wrap the threads of the new pipes with plumber’s tape.
Step 5: Install New Pipes
Begin by connecting the new pipes in the reverse order of removal. Start with the P-trap, then connect the straight pipes to the appropriate locations. Use the pipe wrench and pliers to tighten the nuts securely, but be cautious not to overtighten them, as this could damage the threads.
Step 6: Check for Leaks
Once all connections are secure, turn on the water supply and check for any leaks. Inspect each connection point, including the P-trap, straight pipes, and any additional fittings. Address any leaks immediately by tightening the affected connections.
Step 7: Clean Up and Test
Clean up the work area and ensure there is no water pooling in the bucket or basin. Test the sink by running water and checking for any abnormalities. Confirm that water flows smoothly through the pipes without leaks.
Conclusion
Understanding and maintaining your bathroom sink plumbing is essential for a functional and hygienic restroom. By familiarizing yourself with the basics you can keep your bathroom sink in optimal condition. DIY plumbing will save you time and potential headaches down the line. Remember bathroom plumbing tips to enjoy a smoothly functioning bathroom sink for years to come.