How Professional Restoration Prevents Mold After Plumbing Disasters
Let’s say you come home from work on a calm summer afternoon. You turn on the air conditioner and plop down in your favorite recliner. Suddenly, the fire alarm goes off in the kitchen. You discover a burst pipe, slab leak, or sewer backup in the wall or under the flooring. Where did the water come from? When will it end?
Flooding is an emergency that requires immediate action. Your walls and floors have gone from dry to soaking wet in a matter of minutes or hours. Mold growth can begin within 24 to 48 hours when humidity and moisture content stay high. That is where professional water damage restoration comes in. Certified experts do far more than “dry out the wet carpet.” They remove water quickly, control humidity, and prevent mold before it takes hold, while providing detailed records for your insurance claim.
How Do Plumbing Disasters Lead to Mold?
Mold is a fungus. It requires three things to thrive indoors:
- moisture
- a food source
- a suitable temperature range
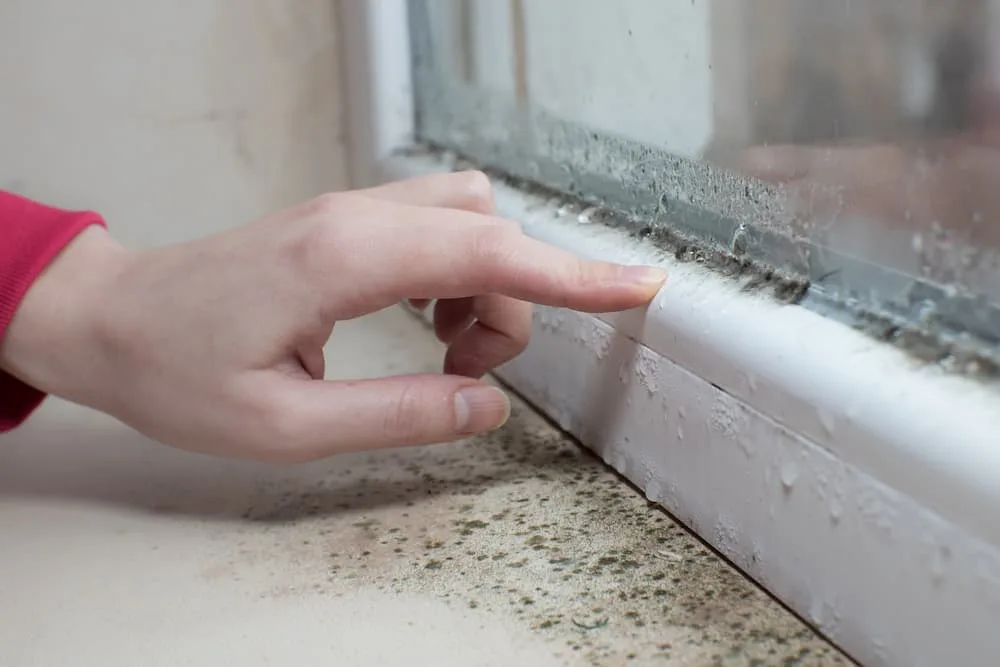
An accidental plumbing failure inside a home or commercial building supplies all three. Drywall paper, wood framing, carpet padding, and dust are ideal nutrients. Indoor air at 70 to 90°F is an ideal temperature for growth. Damaged supply lines, tub or toilet overflows, sump pump backups, leaky appliances, and other water losses leave hidden pockets of moisture. It collects in and behind baseboards, under flooring, in heating ducts, and inside cabinets and drawers. It makes an ideal hidden habitat for microbes.
Clean tap water turns “contaminated” the moment it contacts porous building materials. The situation worsens if the loss involves gray or black water, such as dishwasher discharge or a sewer backup. If professional structural drying does not occur, humidity remains above 60 percent, and mold can begin to spread.
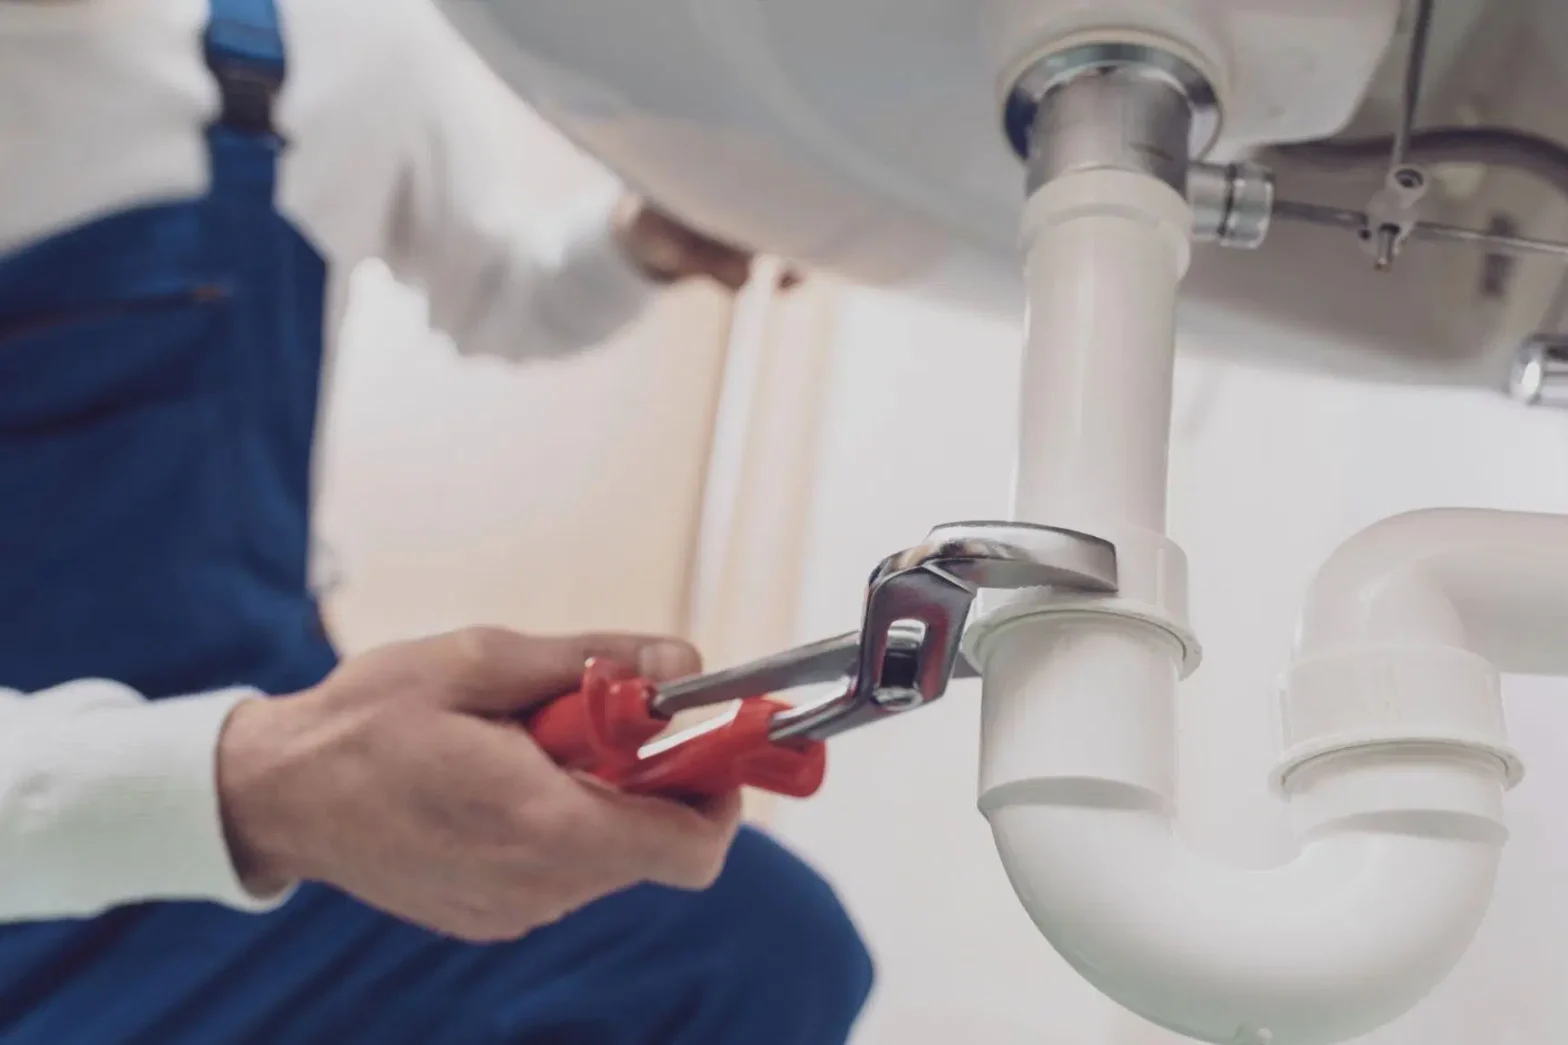
Water Damage Restoration Step 1: Rapid Mitigation and Safety Prep
The first priority of an experienced crew is making the building safe and mitigating, or stopping, the source. The service tech may shut off the main valve and electrical power where needed. They will also quickly assess obvious hazards in the work area, such as slick floors, sagging ceilings, or standing dirty water. They will put a PPE protocol in place and spray an initial antimicrobial if it is a dirty moisture event to minimize the risk of exposure.
Preventing mold: Every minute that liquid sits in place means more wickedness into porous materials. Fast liquid extraction leaves less moisture available for mold to colonize.
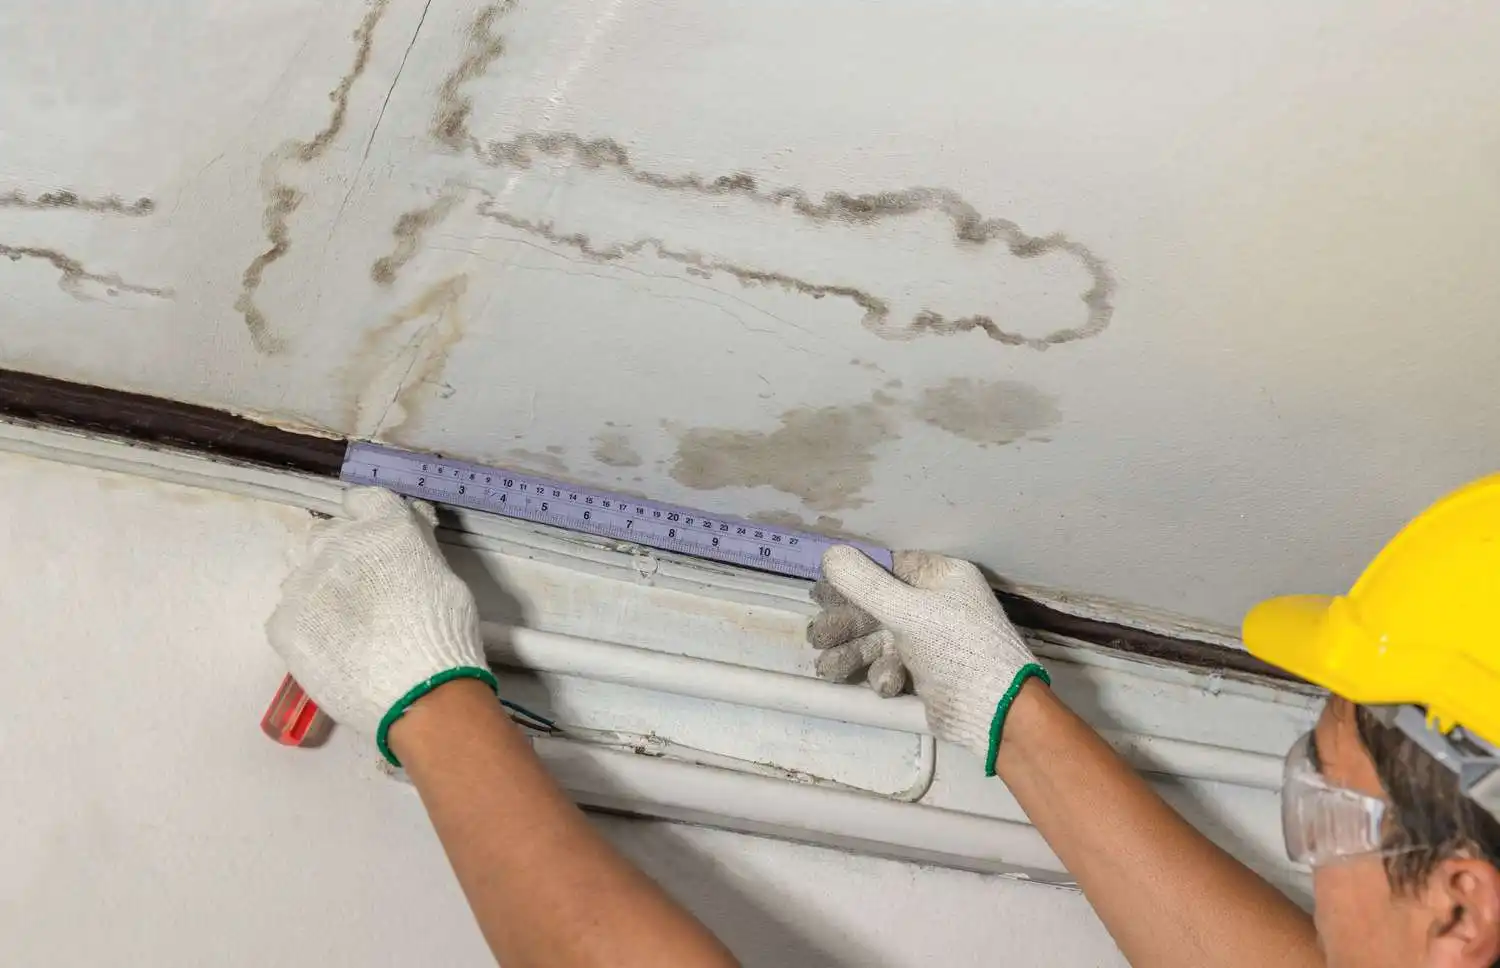
Water Damage Restoration Step 2: Moisture Mapping and Documentation
The next step is a close inspection of the area. Professionals use thermal imaging and moisture meters to map the hidden damage. They will mark wet zones on a printout of the floor plan, record readings and photos, and possibly use Gerdideck to tag at-risk materials and create a detailed moisture map. The report will use terminology such as “dry standard,” “ambient humidity,” and psychrometrics that refer to the drying plan. It will be necessary to complete your insurance claim.
Preventing mold: Finding and documenting those hard-to-see wet spots inside wall cavities, under toe-kicks, or beneath floating flooring stops hidden colonies from forming months down the road.
Water Damage Restoration Step 3: Containment and Negative Air Filtration
In the event of growth or a Category 2 or 3 loss, restorers may set up containment walls to isolate work zones and run negative air machines with HEPA filters. The equipment creates a containment zone and keeps invisible spores and fine particles from drifting into unaffected rooms.
Preventing mold: Containment keeps work zones from cross-contaminating each other. HEPA filtration on negative air machines captures spores down to the micron level, keeping indoor air safer while tearing out damaged materials and during the drying phase.
Water Damage Restoration Step 4: Targeted Demolition (“Flood Cuts”)
Professionals remove unsalvageable materials only where needed. That may include “flood cuts” through drywall or plaster, carpet pad, swollen baseboards, and insulation. They follow meter readings and leave dry zones alone.
Preventing mold: Mold has no place to colonize when you remove the food source. Limiting areas of tear-out and demo to materials that cannot be dried within days or weeks eliminates the food source where mold could otherwise spread.
Water Damage Restoration Step 5: High-Efficiency Water Extraction
After demolition, crews use weighted extractors and sub-surface wands to pull moisture out of carpet and padding, then out of seams and crevices. Extraction methods remove more moisture in minutes than hours of natural evaporation ever could.
Preventing mold: The less liquid left behind, the lower the humidity, and the faster it can be reduced. Lower humidity means mold has no chance to gain traction.
Water Damage Restoration Step 6: Structural Drying With Air Movers and Dehumidifiers
Structural drying is the heart of professional restoration. Technicians place air movers to peel moisture off surfaces and LGR dehumidifiers to suck that vapor out of the air. They reposition equipment as needed daily until wood, drywall, and subfloors hit “dry standard” on calibrated meters.
Preventing mold: Mold growth is stymied when surfaces and air stay below critical thresholds for too long. Controlled airflow plus dehumidification outperforms consumer box fans every time.
Water Damage Restoration Step 7: Antimicrobial Cleaning and HEPA Vacuuming
Once all materials reach the desired target moisture, crews HEPA-vacuum dust and apply EPA-registered antimicrobials to previously wet surfaces to reduce the number of spores that remain.
Preventing mold: Liquid may be gone, but spores can stay. Surface cleaning and HEPA vacuuming reduce the spore count baseline, so humidity swings from normal living are less risky.
Water Damage Restoration Step 8: Verification, Reporting, and Insurance Coordination
Before equipment is removed, the team will document moisture levels, humidity, and temperature to confirm the space is truly dry. You get photos, meter logs, and a scope of work in a format designed for insurance adjusters. Many providers coordinate directly with the carrier and the rebuilding contractor.
Preventing mold: Verified dryness closes the loop. It prevents contractors from rebuilding over still-damp framing, which is the leading cause of post-repair mold.
How to Keep Moisture in Check After Rebuilding
Water damage restoration is not the end of the story. To keep your home healthy:
- Install smart leak detectors near heaters, sinks, and washing machines.
- Add a pressure-reducing valve if household water pressure exceeds 80 psi.
- Insulate vulnerable pipes and exterior wall cavities to reduce condensation.
- Service your heater and supply hoses annually; replace rubber washing-machine hoses with braided stainless steel lines.
- Maintain indoor humidity between 40% and 50% with proper ventilation and dehumidification as needed.
Regular maintenance and small habits like these protect your investment. They also reduce the odds that you will ever need restoration again.
Your Next Steps to Prevent Mold
Professional water damage restoration is the best weapon you have against mold after a plumbing emergency. From fast liquid extraction to detailed structural drying, from containment to documented verification, each professional step targets something mold requires to grow, and takes it out of the equation.
If you are looking for one crew that can perform the emergency plumbing repair and handle the restoration work afterward, contact All Star Plumbing and Restoration. We are available 24/7 to help you, stop the leak, contain the damage, dry your home to a standard, and assist you with the insurance claim process, so mold never has a chance to move in.