How Regular Water Heater Maintenance Prevents Emergency Repairs
A water heater often runs without issue for years until the day it doesn’t. When that day comes, it can happen with a shower running, as a flood from the closet, or even as frightening noises in the middle of the night. The good news is that most water heater emergencies are preventable. With a few minutes of attention each year, you can maintain a consistent hot water supply, lower energy costs, and avoid the call to an emergency plumber.
Why Maintenance Matters More Than You Think
There are three major causes of water heater breakdown: sediment, corrosion, and unsafe pressure build-up. Sediment means the burner or elements work harder to produce heat. Corrosion means the tank is being eaten away from the inside out. High temperature and pressure put extra stress on fittings and safety valves. Routine maintenance is designed to keep these troublemakers in check before they become leaks, ruptures, or inconvenient no-hot-water surprises. It also keeps warranties valid and helps a plumber find small problems before they become big ones.
Start With The Simplest Win: The Annual Flush
Every gallon of hard water produces some mineral residue. Left to settle at the bottom of the tank, it forms a crust that reduces efficiency by trapping heat and can even cause rumbling or popping noises. Flushing the tank annually rinses out that sediment, restores some efficiency, and reduces wear and tear.
How to do it safely: Turn off the power at the breaker or set a gas control to pilot. Attach a garden hose to the drain valve, run it to a floor drain or outside, open a hot faucet to let air into the tank, then open the drain until the water runs clear. Close the valve, remove the hose, and restore power to the unit. This little habit can shave a few dollars off energy costs and prolong the tank’s life.
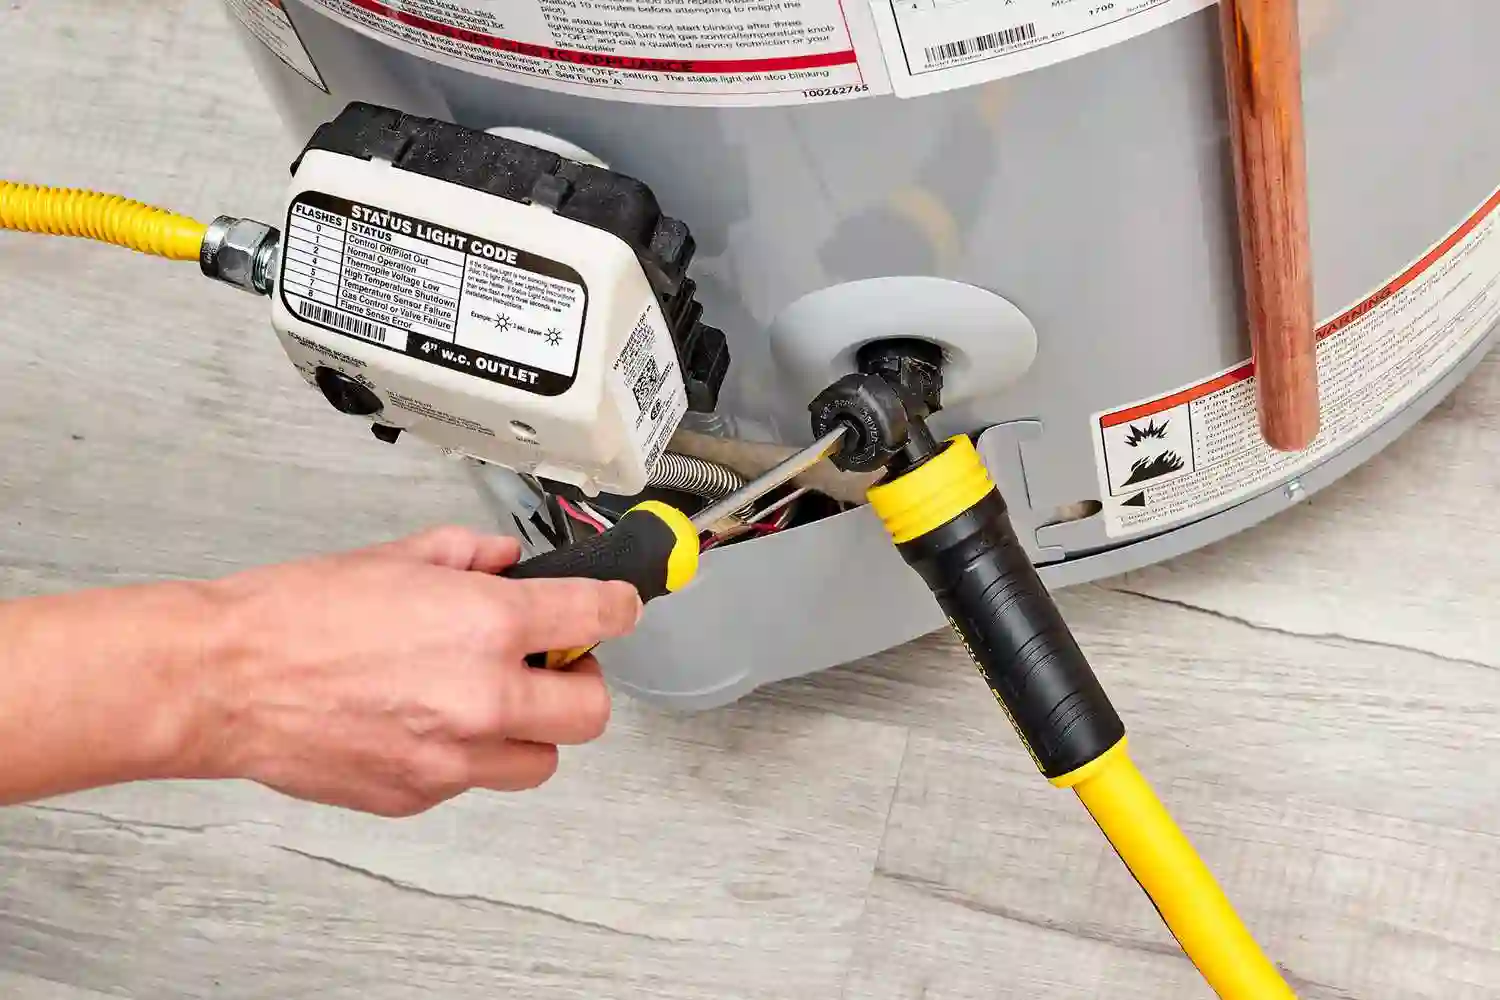
Guard The Tank With A Healthy Anode Rod
The inside of every tank includes a sacrificial anode rod. It is there to corrode so the steel tank will not. If the rod is spent, the next thing to go is the tank, starting with rusty walls and leaks. Inspecting the anode every one to three years and replacing it when it is very thin or down to the wire core can add years to a heater’s life. The part is cheap compared to the price of a new tank, and the check can be combined with the annual flush.
Test The Pressure Relief Valve For Safety
The temperature and pressure relief valve is a small lever with an important job. If heat or pressure gets too high, that valve opens. Once a year, simply lift the lever for a few seconds and make sure hot water spews into the drain line. If nothing happens or if the valve won’t stop dripping afterward, replace it. It is a quick, inexpensive fix that keeps dangerous pressure from building and that also protects the tank.
Set Temperature And Pressure To Sweet-Spot Levels
Many heaters are preset to 140 degrees. For most homes, 120 degrees is hot enough for showers and dishes, will reduce scald risk, and slow mineral buildup. After lowering the setting, test and confirm with a kitchen thermometer on a tap.
Next, confirm household water pressure. Readings above 80 psi put stress on the heater and the plumbing system. A pressure-reducing valve ensures levels are in a safe range. If your home is a closed system with a backflow device, install a thermal expansion tank. It will absorb pressure spikes that occur when water heats and expands, preventing drips, premature valve wear, and premature tank failure.
Pay Attention To Water Quality
Hard water contributes to sediment and corrosion. If you live in a hard-water area, you might consider a whole-house softener or a scale-reduction device. Simple steps also help: flushing twice a year instead of once, and choosing an anode material based on your water conditions. If your hot water has a sulfur smell, talk to a plumber about changing the anode type or treating the tank to remove bacteria that cause the odor.
Listen And Look For Early Warning Signs
Your heater can drop hints before it fails. Learn to recognize them:
- Rumbling or popping as it heats up often means sediment is insulating the burner.
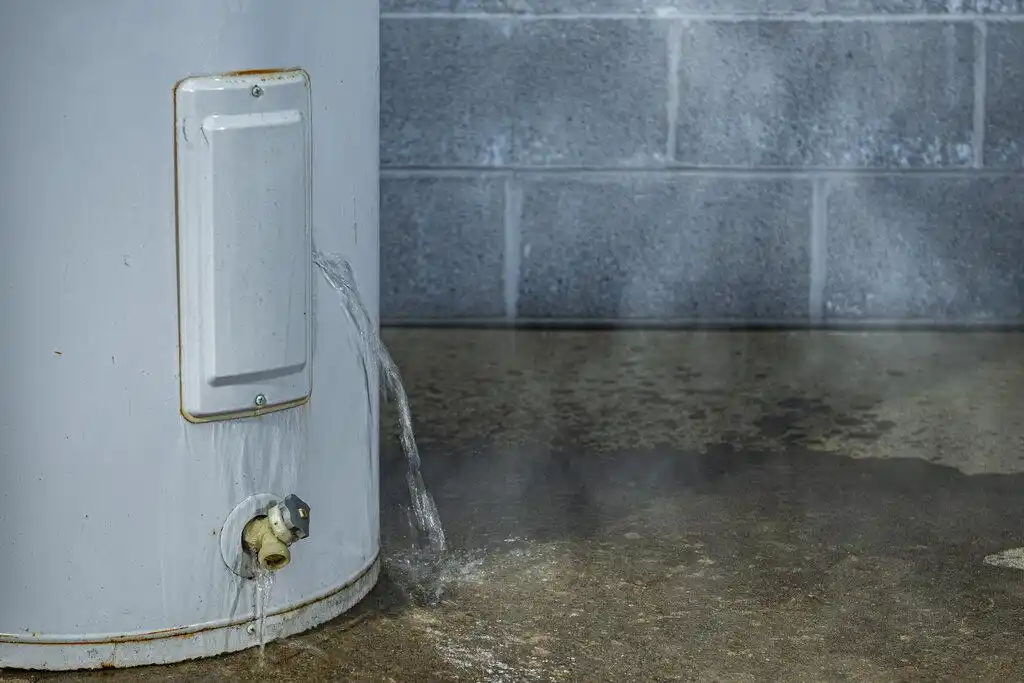
- Hot water with a rusty tint could indicate a bad anode or corrosion of the tank itself.
- A damp ring at the base often points to a leaking drain valve or tank seam.
- Hot water temperature fluctuates if thermostats or elements go bad.
Finding these early often turns a major emergency into a simple part replacement.
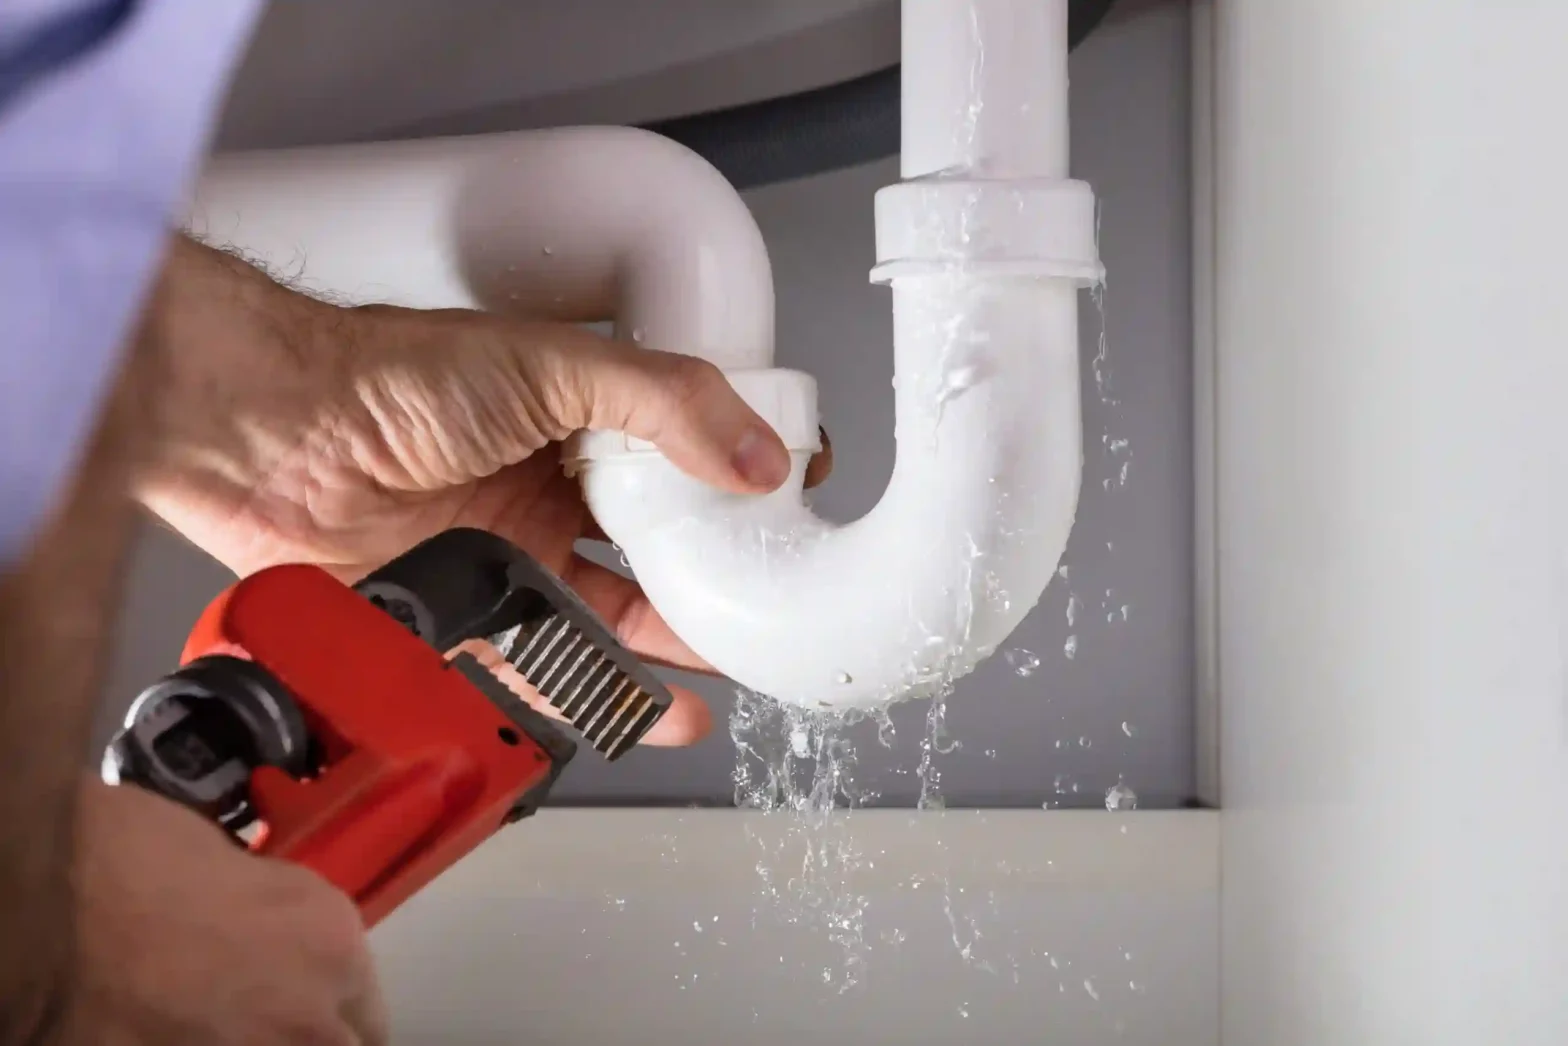
DIY Care Versus Calling A Pro
Homeowners can do many maintenance tasks themselves, including the drain-and-flush, checking the anode, and testing the relief valve. Call a licensed plumber if you smell gas, see scorch marks, cannot close the relief valve, or see evidence of water leaking from the tank body itself. Also, call a plumber if the heater is more than ten years old and already has repeated issues. A professional can help assess whether a repair makes sense or if a new model will save money and frustration.
How Often Should Maintenance Happen
Strive for an annual checkup at a minimum. In areas with very hard water or households with heavy use, plan to flush twice a year and inspect the anode annually. Create a simple log on the tank itself with dates and notes. This record will help if you need a warranty claim and will also give clear reminders for next year’s maintenance.
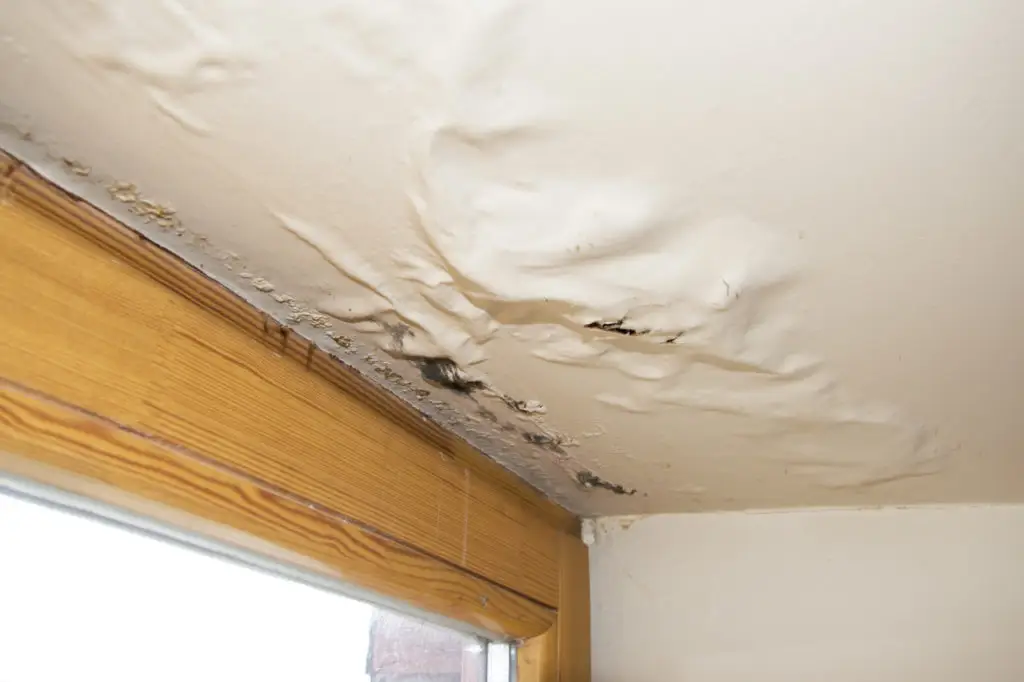
Preventive care is both inexpensive and predictable. Emergency repairs are neither. A neglected heater can rupture and flood a closet or laundry room, requiring water extraction, dehumidifiers, new flooring, and days of disruption. In contrast, a yearly service visit plus a small handful of low-cost parts keeps everything steady. You also get better efficiency and a trimmer utility bill month after month.
A Simple Maintenance Plan You Can Follow
- Once a year: Flush the tank, test the pressure relief valve, and check the temperature is at 120 degrees.
- Every one to three years: Inspect or replace the anode rod, more often with hard water.
- Any time: Keep the area around the heater free of clutter for airflow and access. Look for drips, rust, or moisture around the base.
- As needed: Install a pressure-reducing valve and expansion tank if pressure is high or you see frequent relief-valve drips.
- After any repair: Recheck temperature, pressure, and common leak points to ensure the system is stable.
All tanks eventually reach the end of their life. If your unit is past its expected life, leaking from the shell, or needs multiple repairs, it is smarter to replace than to repair. Modern high-efficiency and heat-pump models can also cut energy use and may qualify for rebates. A professional can size the new heater to your family’s demand and the water conditions where you live.
Get Ready for Reliable Hot Water with All-Star Plumbing
Water heater emergencies can be inconvenient and expensive, and they rarely occur at a convenient time. More often than not, they start as a small, easily preventable issue like sediment left unchecked, a depleted anode, or pressure too high for too long. Schedule your system for a simple, consistent tune-up to protect your home, your budget, and your comfort.
Circle on the calendar, keep a short log, and treat your water heater like the hard-working appliance it is. Then hot water is there when you need it, energy bills are affordable, and midnight calls to the plumber are few and far between. Not in the DIY mood? Call All Star Plumbing today for a comprehensive water heater tune-up and year-round protection.